DEMO4 - vehicle sketch
full rendering coming soon...
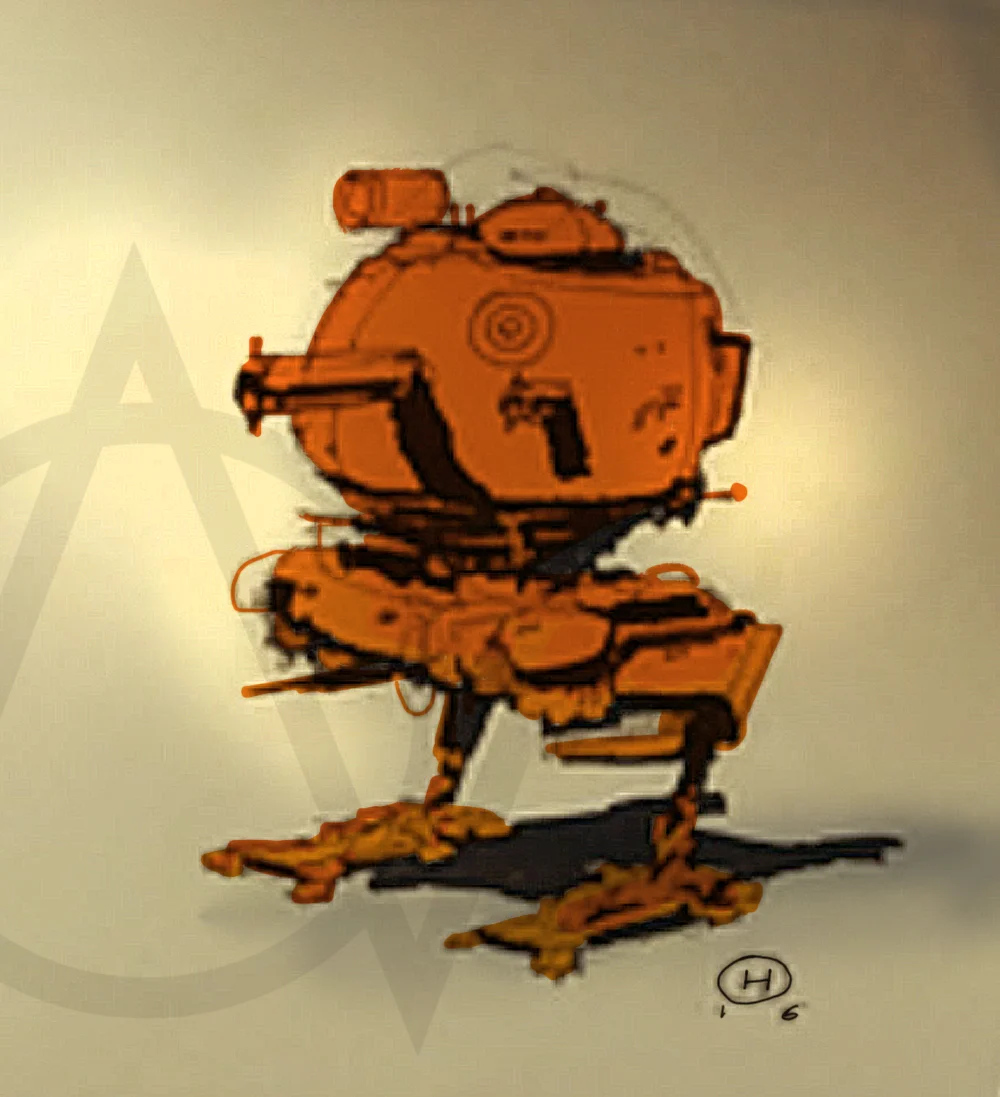
DEMO3 - final
after several months hiatus, back to doing little demos...finally got around to finishing this mech sketch from earlier this year. the finishing touches include: fine tuning the light direction (top only), cleaning up the feet, scaling down the driver. hope you like it.

quick sketch
quick sketch, 30mins, based on some of the work i talked about in the workshop at Emily Carr University today.

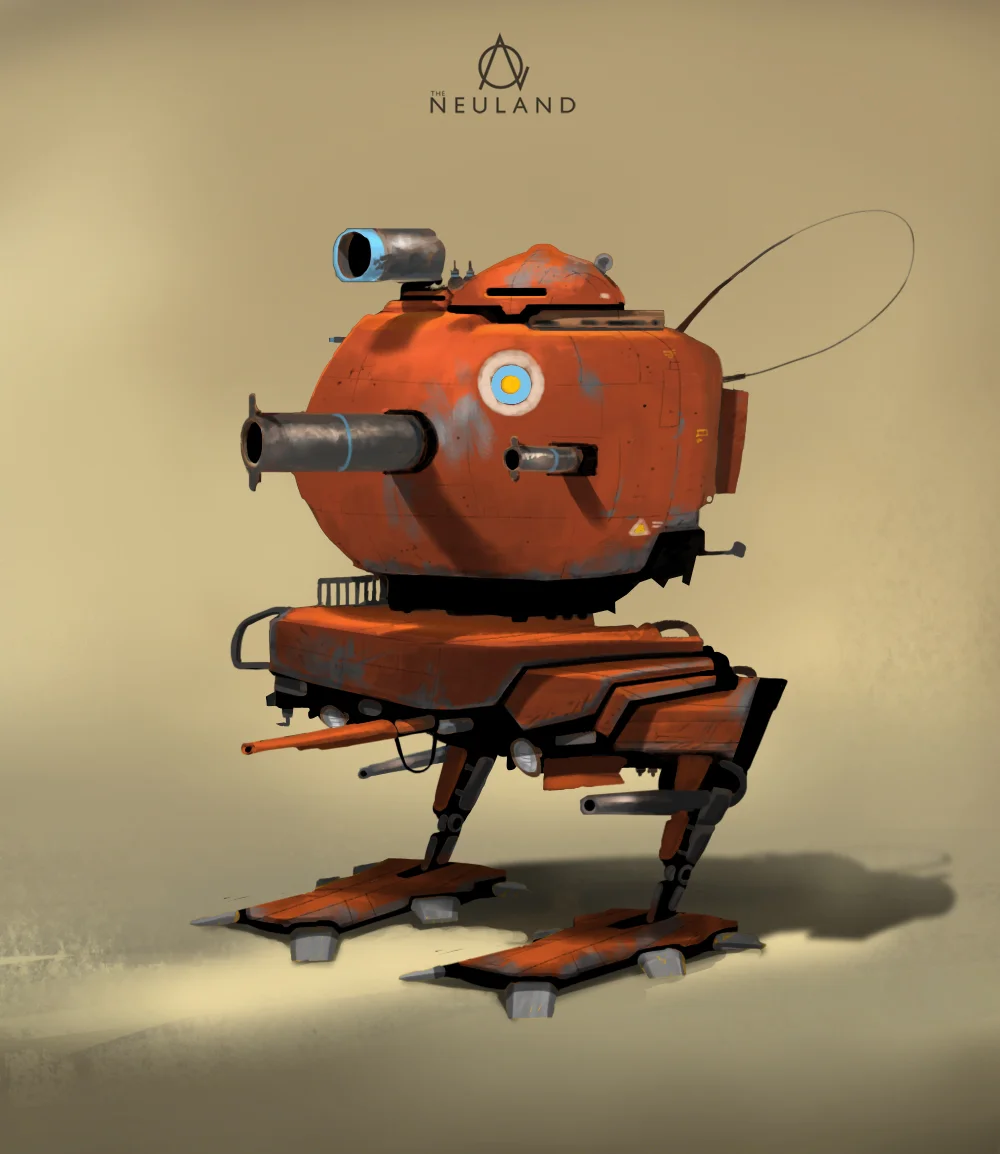
DEMO3 - mech sketch 101
STEP SEVEN - zooming in, adding photodetail
- layer photo textures to create realism.
- zoom in, create fine detail using a small brush

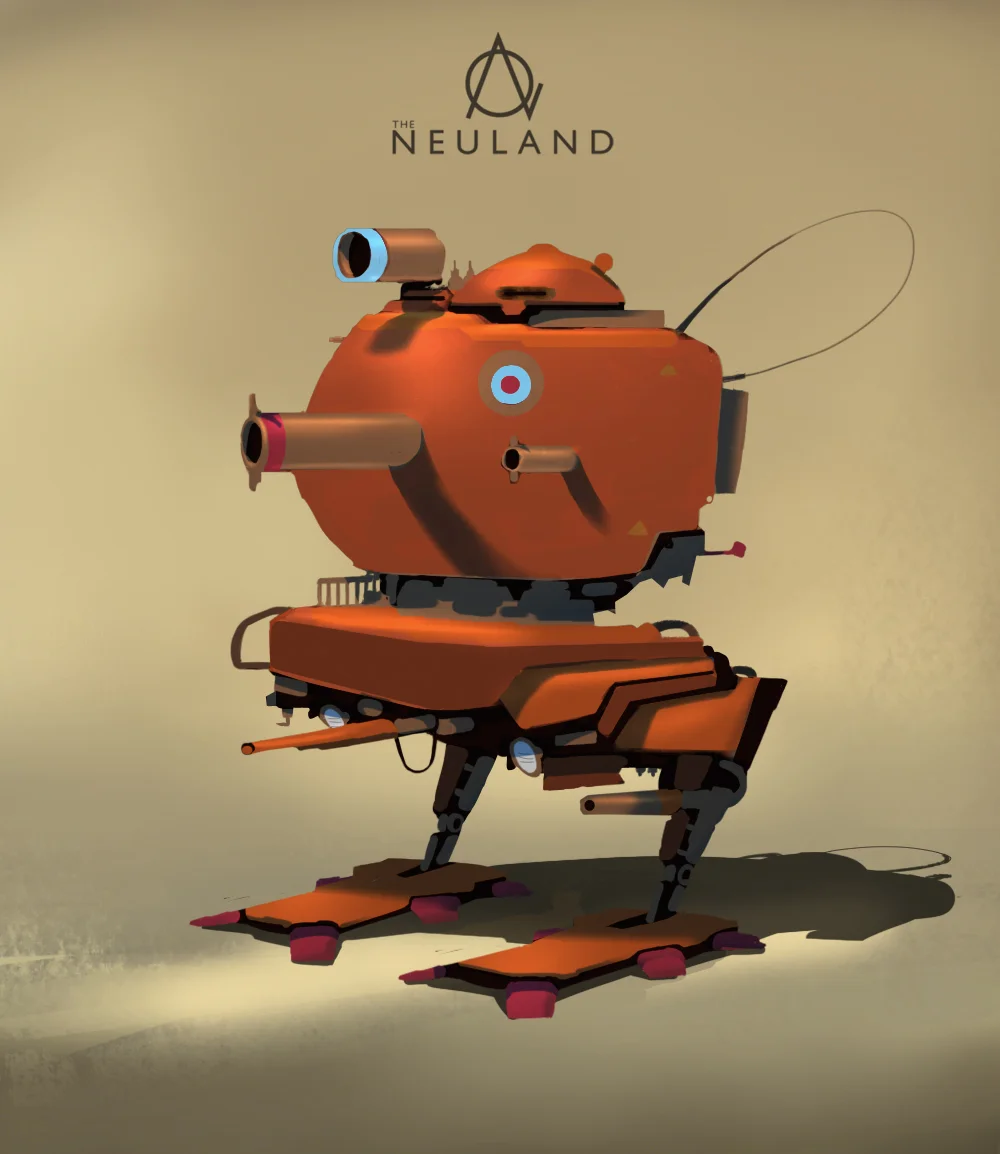
STEP SIX - painting detail
- establish detail and scale by introducing fine brushwork
- this is the hardest step and requires the most practice. after doing a 100 of these sketches you will get a feel for it. don't get discouraged.
- duplicate the painting, desaturate it and reveal it in spots to indicate worn metal look.
- this is the most fun step, explore brushes and texture direction to help indicate surface properties.
STEP FIVE - basic lighting
- establishing basic shading using the dodge and burn tool.
- adding a multiply layer to create cast shadow design.
- erasing shadows with soft airbrush to create light "spread angle" effect.
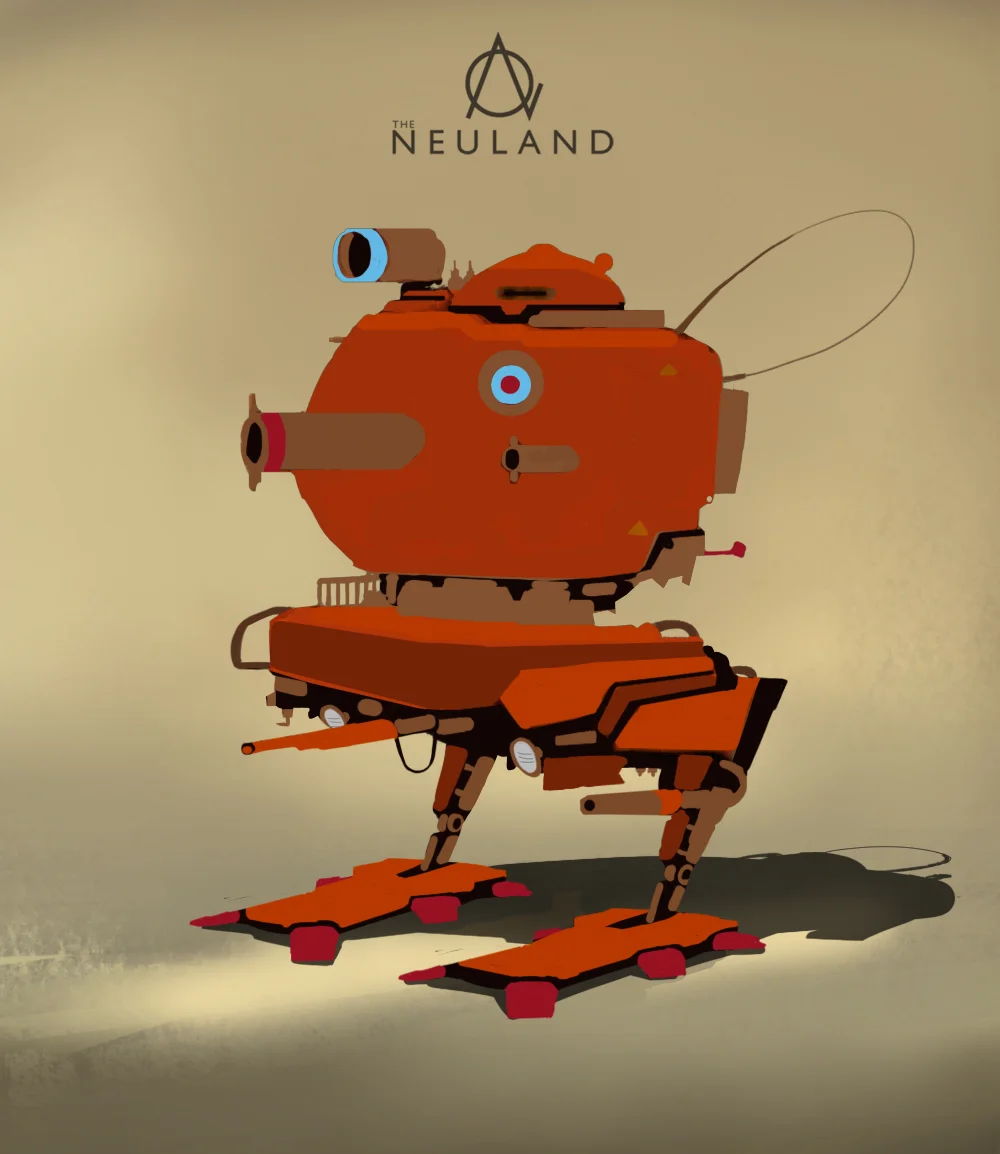
STEP FOUR - paint by number
- flat material block out, what panels go where?
- what color are they?
- what's raw metal, vs painted metal?
- keeping graphic proportions in mind. adding to the design narrative, blocking out first graphics....
STEP THREE - upres digital
- cleanup environment light direction
- cleanup silhouette
- add functional elements to silhouette
- clean up perspective
- clean up edges

STEP TWO - low res digital
- starting a painting of demo sketch.
- flat color block in.
- establishing environment light direction.
- refining silhouette - at this stage you should squint your eyes and make out an interesting silhouette - even when design is barely visible.
- two second rule - what does this thing do? need to be able to tell within 2 seconds...
STEP ONE - hi tec-C pen and brushpen. speed up x4
- start with a rough volume block in.
- establish some basic light direction and feeling for the surfaces.
- layout rough perspective.
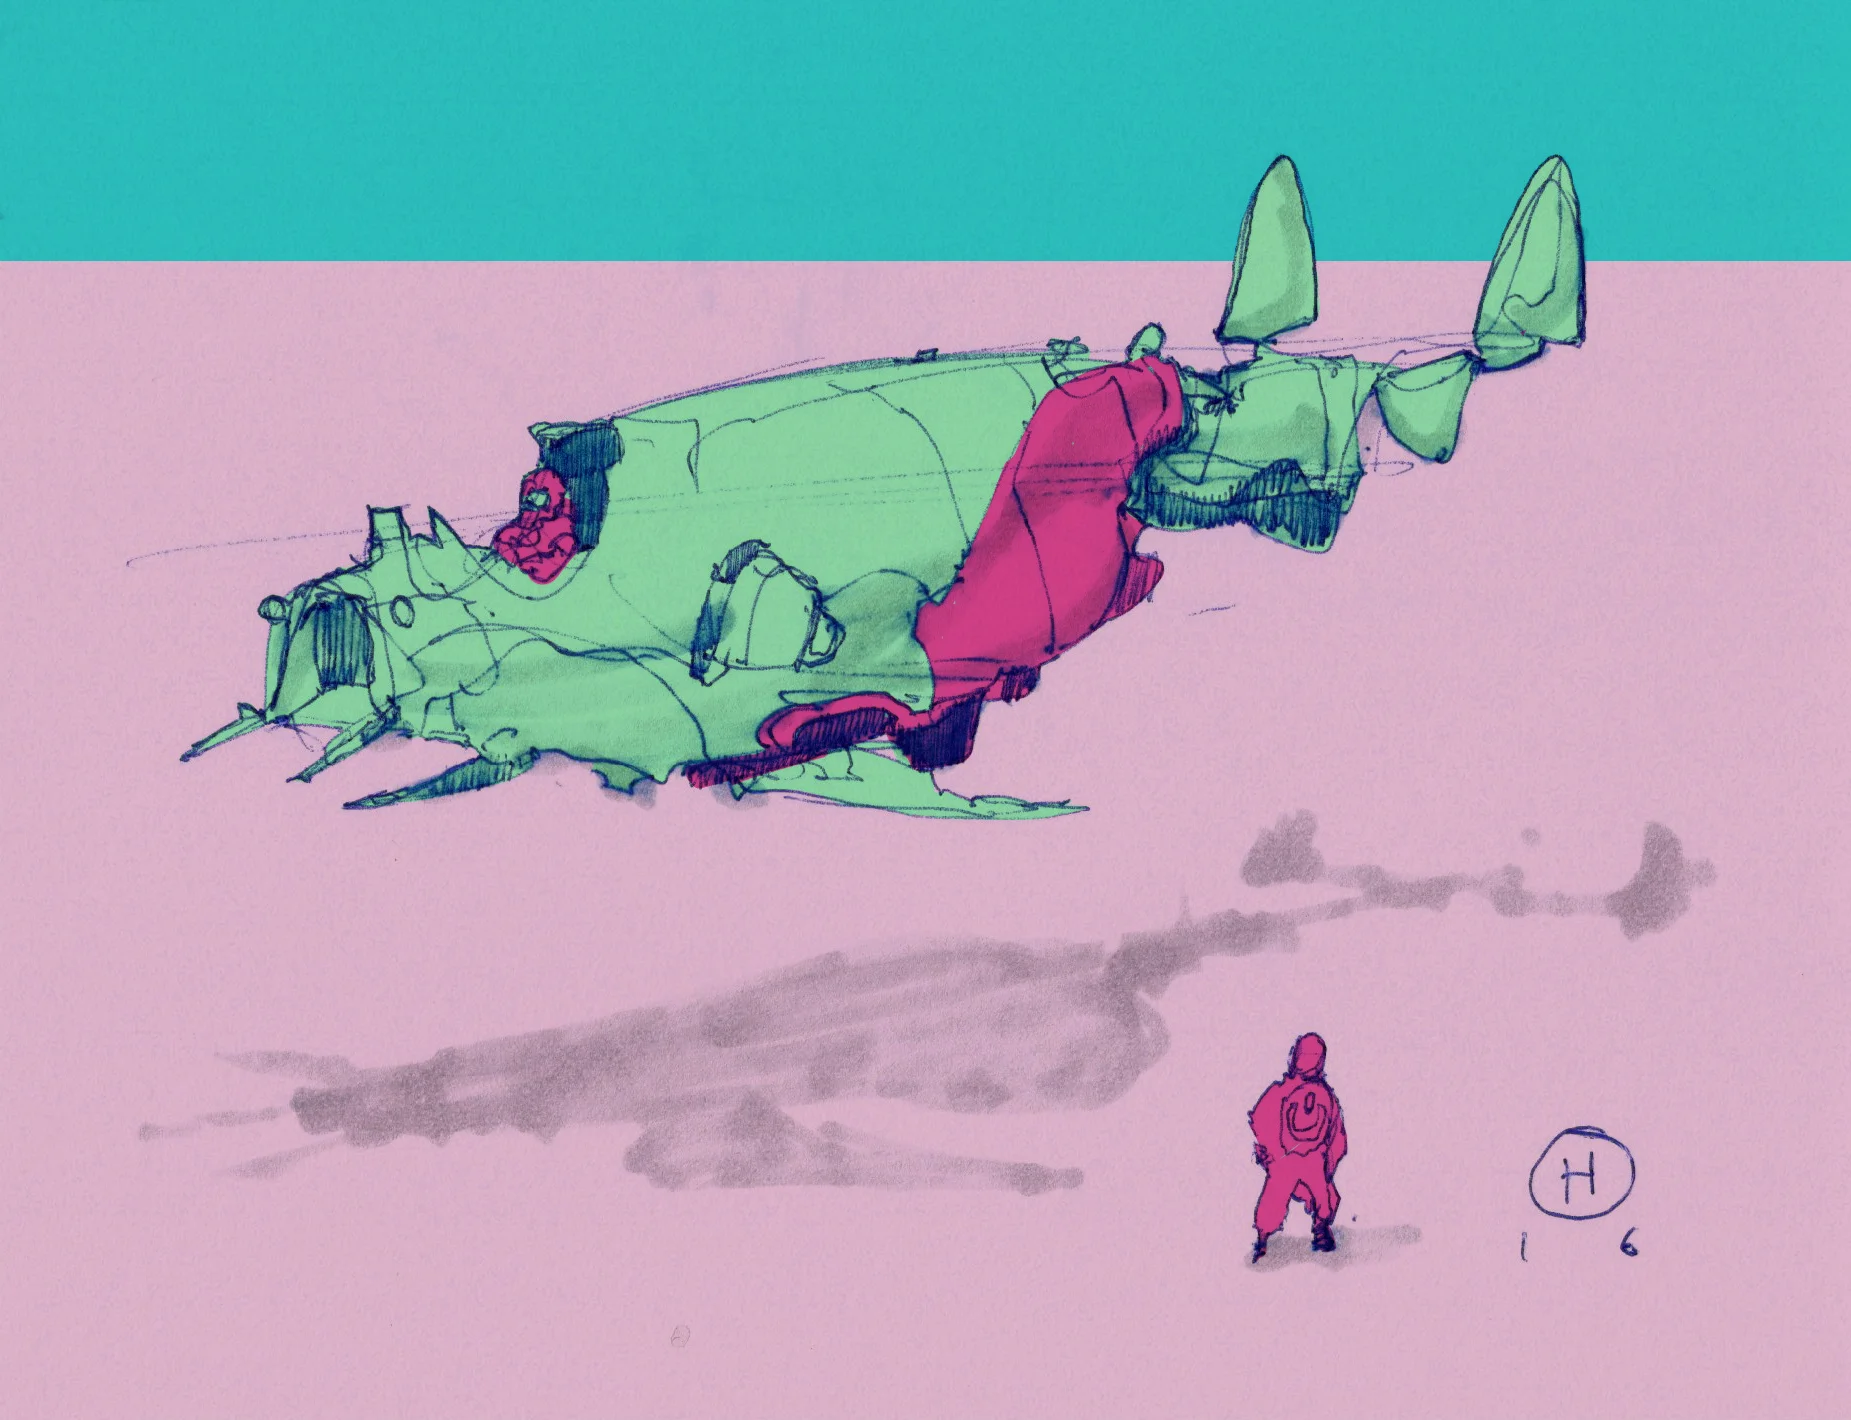
DEMO2 - organic sketch 101
2nd step of the ballpoint pen sketch. adding textural detail and foreground elements...

Super simple sketch to show you the basics of "organic design". A big shout out here goes to Christian Schellewald and David James, my instructors way back who opened my eyes to this. I will explain some basic design principles after the sketch demo.

DEMO1 - Rainy Mountains
a demo I did a few years ago for my friend Tyler West and his awesome team at WEST Studio. http://www.weststudio.com/guestartistseries/